Turn Your Fabric Scraps into Functional Art
Every quilter knows the struggle—that ever-growing pile of beautiful fabric scraps that you just can't bear to throw away. Those pieces might be too small for a quilt block but too pretty to discard. Today, we're solving that problem with a practical, beginner-friendly project that transforms your scraps into something both useful and decorative: a sturdy fabric basket perfect for organizing your sewing space or gifting to fellow craft enthusiasts.
As we often tell customers who visit us at Countryside Quilts, the best projects often come from the pieces others might overlook. This scrappy basket project embraces that philosophy entirely!
Why Make a Fabric Basket?
Fabric baskets are the perfect scrap-busting project because:
- They use up odd-shaped fabric pieces that might otherwise go to waste
- They're quick to complete (usually in under 2 hours)
- They make great gifts for any occasion
- They help organize your sewing space, bathroom, office, or any room
- They can be customized to match any decor
- They're eco-friendly alternatives to plastic containers
Let's dive into this fun, practical project that will help declutter your fabric stash while creating something beautiful and useful!
Materials You'll Need
One of the best things about this project is its flexibility. You can use various sizes and types of fabric scraps, depending on what you have on hand.
Basic Materials:
-
Fabric scraps (cotton works best)
- For exterior: Approximately 1/2 yard total of assorted scraps
- For lining: 1/2 yard of coordinating fabric (can be scraps or a single fabric)
-
Stabilizer (choose one):
- Fusible fleece (recommended for beginners)
- Medium-weight interfacing
- Batting scraps
- Coordinating thread
- Basic sewing supplies:
- Sewing machine
- Scissors or rotary cutter and mat
- Straight pins or clips
- Iron and ironing board
- Measuring tape or ruler
Optional Materials:
-
Fabric for handles (if not using scraps): Two 4" × 8" pieces
-
Decorative elements: buttons, ribbons, or trims
-
Spray starch (helpful for stabilizing lighter fabrics)
Size Options
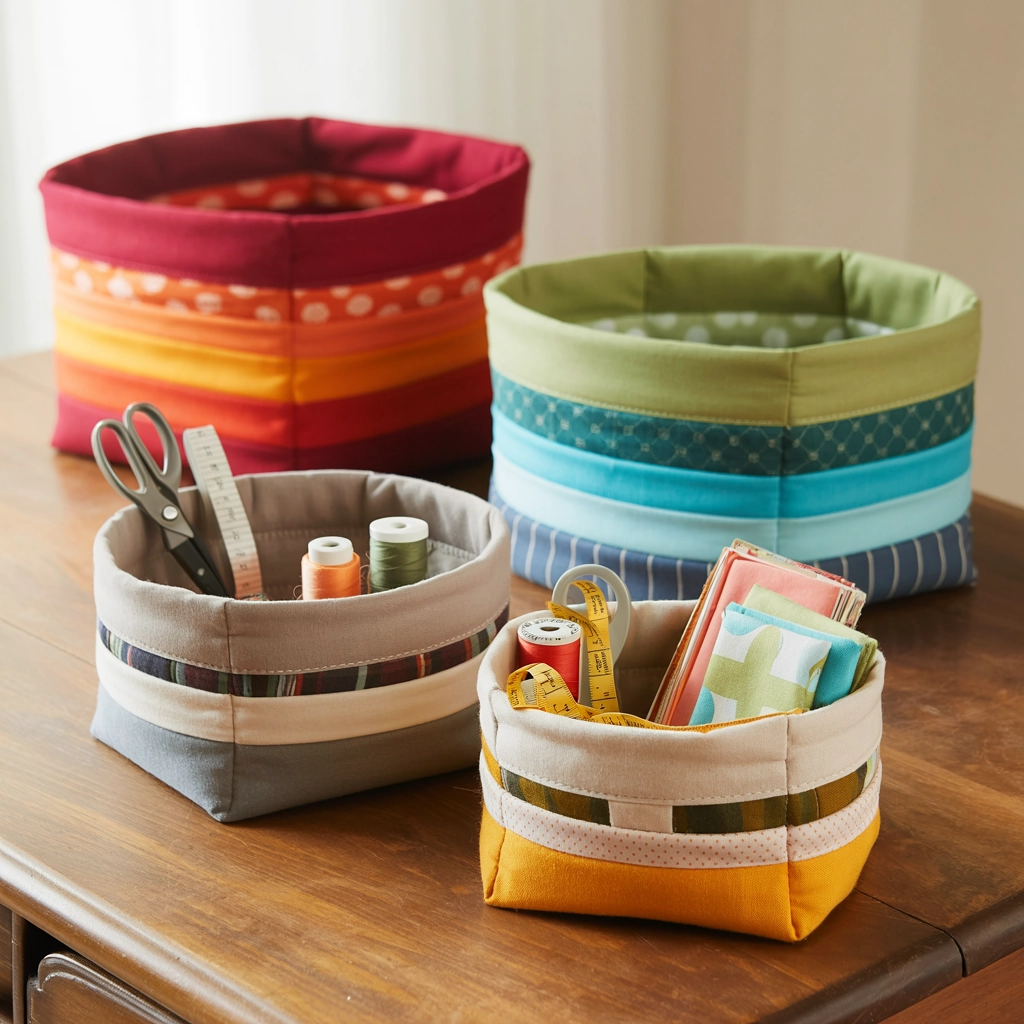
This tutorial creates a medium-sized basket approximately 8" × 6" × 5" (width × depth × height), but you can easily adjust dimensions to create:
-
Mini baskets: Perfect for storing small notions like bobbins or buttons
-
Large baskets: Ideal for storing fabric, yarn, or larger projects
-
Tall baskets: Great for storing patterns, rulers, or magazines

Step-by-Step Instructions
Step 1: Prepare Your Scraps
-
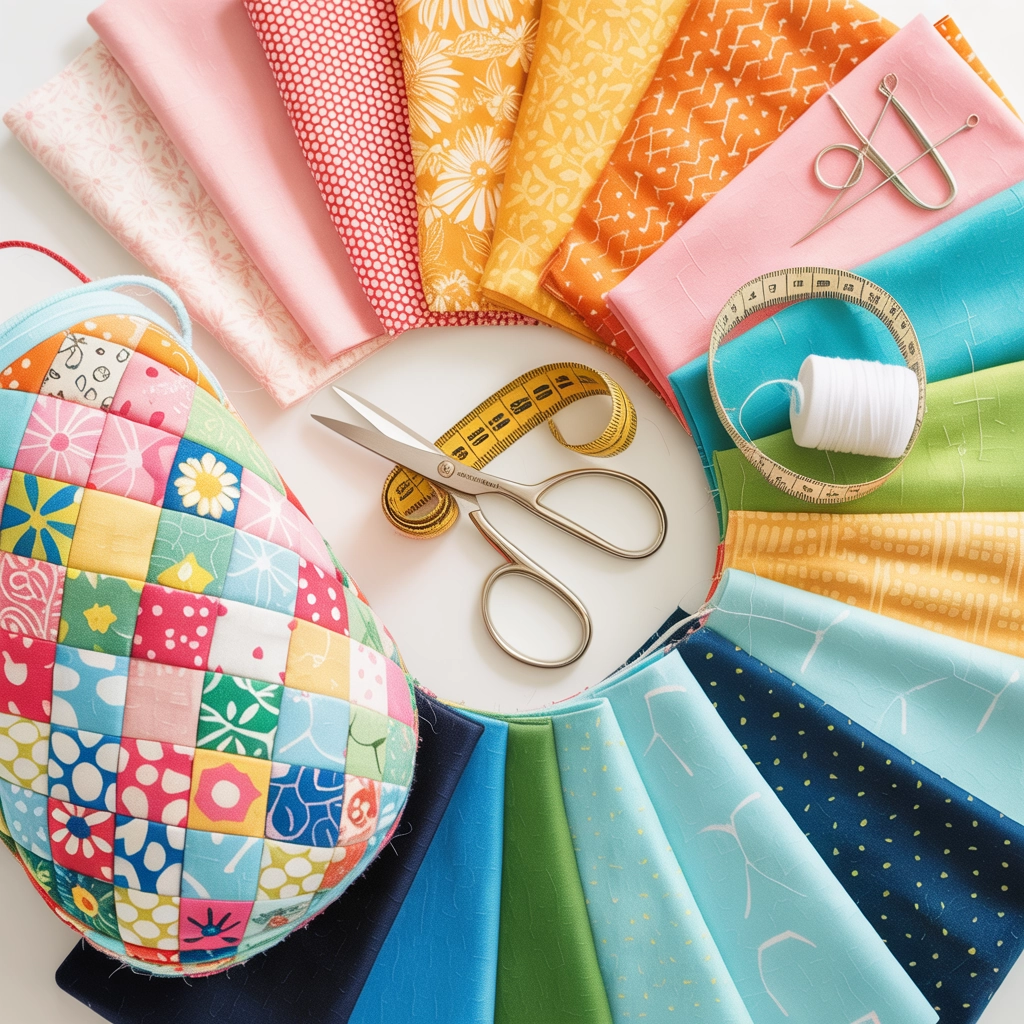
Sort through your scrap bin and select pieces that coordinate well together. This is a great opportunity to use those beautiful designer fabrics you've been saving tiny pieces of!
-
Press all fabric pieces to remove wrinkles. This small step makes a big difference in your final result.
-
Decide on your approach:
-
Option A: Patchwork exterior - Sew together smaller scraps to create two 13" × 9" panels (for exterior front/back and sides)
-
Option B: Larger scraps - Use four larger scraps approximately 9" × 7" each for the sides and two 9" × 9" squares for the bottom
-
Cut your lining fabric to match the dimensions of your exterior pieces. For a standard basket, you'll need two pieces 13" × 9" (if using Option A) or matching the dimensions of your exterior (if using Option B).
Step 2: Create the Exterior Panels
If using the patchwork approach (Option A):
-
Arrange your scraps in a pleasing pattern on a flat surface. Try various layouts until you find one you love.
-
Using a 1/4" seam allowance, sew scraps together to create panels larger than the dimensions needed (approximately 14" × 10").
-
Once your patchwork is complete, trim it down to two 13" × 9" rectangles.
-
Cut your stabilizer to match these dimensions and fuse to the wrong side of each exterior panel following the manufacturer's instructions.
If using larger scraps (Option B):
-
Cut your fabric and stabilizer pieces to the dimensions listed in Step 1.
-
Fuse the stabilizer to the wrong side of each exterior piece.
Step 3: Assemble the Basket Shape
- Create the exterior shell:
- Place your two exterior panels right sides together
- Sew along the sides and bottom using a 1/2" seam allowance, leaving the top open
- This creates a tube-like shape with an open top
-
Create the lining the same way as the exterior, but leave a 4-5" opening in the bottom seam for turning later.
-
Box the corners to create the 3D basket shape:
- With the exterior shell still inside out, pinch one bottom corner so the side seam and bottom seam align
- Flatten to create a triangle
- Measure 2" from the point and draw a line perpendicular to the seam
- Sew along this line
- Trim excess fabric about 1/4" from the stitching line
- Repeat for the other corner
- Repeat the same process with the lining

Step 4: Create and Attach Handles (Optional)
- Prepare handles:
- Cut two fabric pieces 4" × 8" (or use coordinating scraps)
- Fold each piece in half lengthwise, right sides together
- Sew along the long edge with a 1/4" seam allowance
- Turn right side out and press flat
- Topstitch 1/8" from each long edge for a professional finish
- Attach handles:
- Position handles on the exterior of your basket, centering them on each side
- The raw edges should align with the top edge of the basket
- Pin or clip in place
- Baste handles to the exterior about 1/4" from the top edge
Step 5: Join Exterior and Lining
- Prepare for joining:
- Turn the exterior right side out
- Keep the lining inside out
- Place the exterior inside the lining so right sides are together
- Align the top raw edges and side seams
- Pin or clip around the entire top edge
- Sew the top edge:
- Using a 1/2" seam allowance, sew all the way around the top edge
- Be careful around the handles to ensure they're securely caught in the seam
- Turn and finish:
- Pull the exterior through the opening left in the lining's bottom seam
- Once everything is right side out, stitch the lining opening closed (use a ladder stitch by hand or machine stitch close to the edge)
- Push the lining down inside the exterior
- Press the top edge neatly
-
Topstitch: For a professional finish, topstitch 1/8" from the top edge all the way around the basket. This helps the basket hold its shape and gives a crisp finish.

Tips for Success
-
Use a walking foot on your sewing machine if available—it helps when sewing through multiple layers
-
Grade your seams (trim the seam allowances to different widths) at the corners to reduce bulk
-
Use wonder clips instead of pins when working with multiple layers
-
Press each seam as you go for the most professional-looking results
-
Choose a stabilizer based on how structured you want your basket:
- Fusible fleece creates a soft but stable basket
- Heavy-weight interfacing creates a very structured basket
- Batting creates a softer, more flexible basket
Troubleshooting Common Issues
Problem: Basket sides are too floppy
Solution: Add an extra layer of stabilizer or choose a heavier interfacing
Problem: Difficulty turning corners neatly
Solution: Trim seam allowances at corners and clip curves before turning
Problem: Uneven top edge
Solution: Take extra care when pressing the top seam before topstitching; consider using a pressing ham
Creative Variations
The basic basket pattern can be endlessly customized:
-
Divided basket: Add interior dividers by cutting fabric to fit inside dimensions and attaching to the lining before assembly
-
Drawstring top: Add a casing at the top with a drawstring to create a closable basket perfect for travel or gift packaging
-
Embellished exterior: Add appliqué, embroidery, or decorative stitching to the exterior panels before assembly
-
Quilted version: Quilt the exterior panels to your stabilizer for added texture and interest
-
Reversible basket: Use equally attractive fabrics for both exterior and lining, skip the stabilizer, and you'll have a fully reversible basket
Ways to Use Your Finished Baskets
Once you've made one fabric basket, you'll want to make dozens! They're perfect for:
-
Sewing room organization: Store thread, bobbins, or current project pieces
-
Bathroom storage: Corralling toiletries, makeup, or hair accessories
-
Kitchen use: Holding fruit, bread, or napkins
-
Gift packaging: Fill with treats or small gifts for a reusable presentation
-
Home office: Organizing pens, paper clips, and other small supplies
-
Nursery storage: Keeping baby essentials handy but tidy
Final Thoughts
Creating these scrappy fabric baskets is not just practical—it's a deeply satisfying way to give new life to fabric pieces that might otherwise be forgotten. Every time you glance at your finished basket, you'll enjoy the memories of the projects those scraps came from.
At Countryside Quilts, we believe that quilting and sewing should be both practical and joyful. Projects like this embody that philosophy perfectly, turning something old into something new and useful.
Ready to tackle more scrap-busting projects? Check out our other tutorials for creative ways to use every last inch of your precious fabrics in our Basic Sewing blog.
Happy sewing, and may your scrap pile grow smaller as your collection of beautiful baskets grows larger!
Laisser un commentaire