Picnic Quilt: An Ultra-Durable Pattern for Outdoor Adventures
Summer's here, and there's nothing better than a picnic in the great outdoors! But if you've ever spread a regular quilt on damp grass or dusty ground, you know the heartbreak of watching your beautiful handiwork get stained, wet, or even torn. That's why today I'm sharing our special pattern for creating the ultimate outdoor picnic quilt that can handle whatever Mother Nature throws at it.
Here at Countryside Quilts, we've tested dozens of designs to find the perfect balance of beauty, durability, and functionality. This isn't just another pretty blanket – it's a rugged outdoor companion built to last through countless adventures!
Why Regular Quilts Don't Cut It Outdoors
Before we dive into our special pattern, let's talk about why your regular indoor quilts shouldn't be dragged out to the beach or park:
- Most quilting cotton isn't water-resistant
- Traditional batting soaks up moisture like a sponge
- Delicate stitching can tear when stretched over uneven ground
- Fine fabrics show dirt and grass stains immediately
- Standard quilts are heavy when wet and take forever to dry
Our picnic quilt solves all these problems with smart material choices and construction techniques that don't sacrifice style.
Materials: Choosing for Durability
The secret to a long-lasting outdoor quilt starts with proper materials. Here's your shopping list:
For the top:
- 3 yards of canvas, denim, or outdoor fabric (pre-washed)
- OR 20 fat quarters of quilting cotton if you prefer a patchwork look
- Optional: Scotchgard fabric protector for cotton options
For the middle:
- 1 yard of thin polyester fleece (adds cushioning without bulk)
- OR skip batting entirely for a lighter-weight option
For the bottom:
- 2 yards of ripstop nylon, polyurethane laminate (PUL), or a vinyl tablecloth
- OR 2 yards of outdoor fabric treated with waterproofing spray
Other supplies:
- Coordinating thread (polyester for strength)
- Walking foot for your sewing machine
- 8 metal grommets (½" size)
- 2 yards of nylon webbing or sturdy ribbon
- Heavy-duty sewing machine needles (size 16/100)
- Safety pins for basting
- Bias tape or pre-made quilt binding (enough for your perimeter)
Pattern Options: Simple Is Stronger
For maximum durability, we recommend one of these three design approaches:
Option 1: The Big Block Basic (Beginner-Friendly)
This design uses just a few large pieces of fabric, minimizing seams that could become weak points.
- Cut your top fabric into four equal rectangles (approximately 27"×36" each)
- Sew the four pieces together to form one large rectangle approximately 54"×72"
- Proceed to construction steps below
Option 2: Rugged Strip Quilt (Intermediate)
This design offers visual interest while maintaining durability.
- Cut 6-8 strips of fabric, each 9"×72" (width of fabric)
- Sew strips together along the long edges
- Proceed to construction steps below
Option 3: Heavy-Duty Patchwork (Advanced)
If you want a traditional patchwork look but with added strength:
- Cut twenty 14"×14" squares from assorted heavy fabrics
- Arrange in a 4×5 grid and sew together using ½" seams (stronger than traditional ¼" quilt seams)
- Press seams open to distribute stress
- Proceed to construction steps below
Construction: Building Your Outdoor Fortress
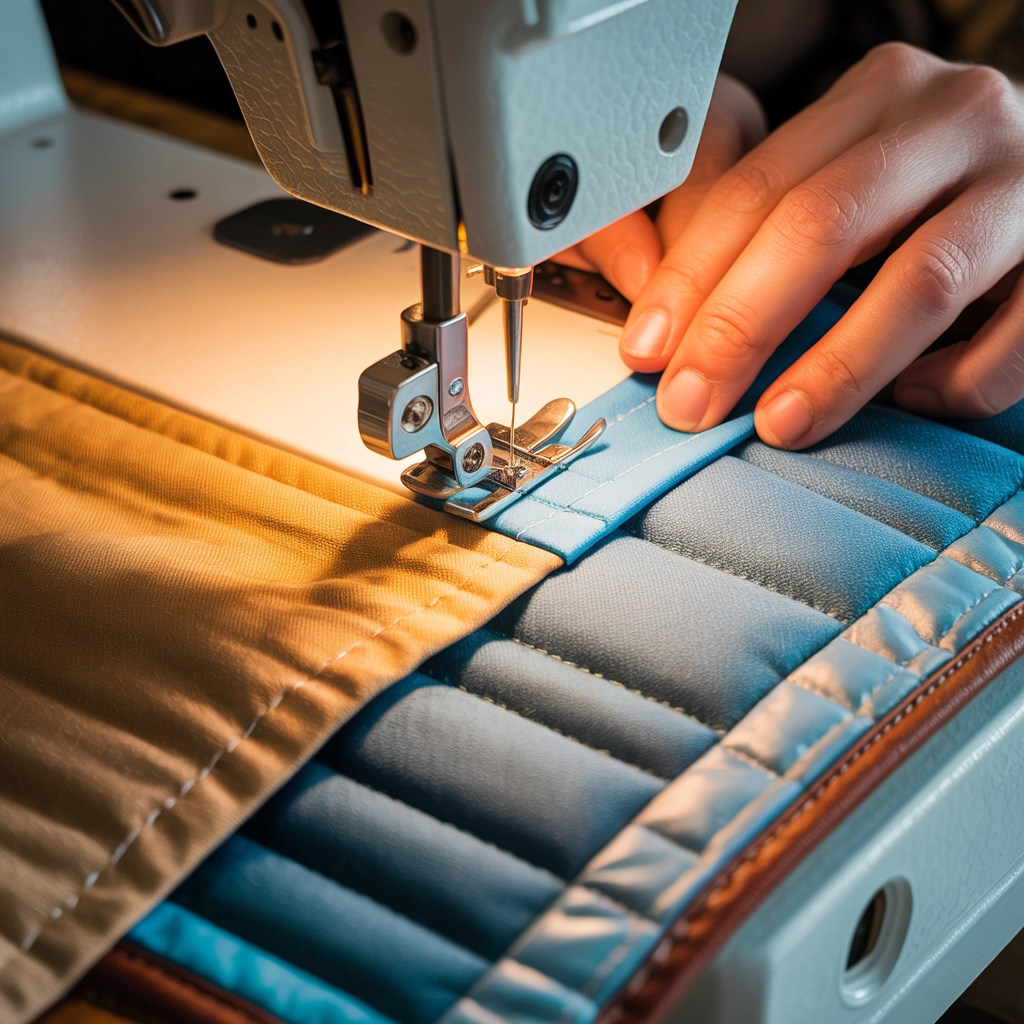
No matter which pattern option you've chosen, these construction steps will ensure your picnic quilt stands up to outdoor use:
Step 1: Prepare Your Waterproof Backing
Trim your waterproof backing fabric to match the dimensions of your completed top. If using fabric that needs waterproofing (rather than vinyl or PUL), apply waterproofing spray according to package directions and allow to dry completely.
Step 2: Create Your Quilt Sandwich
- Lay the waterproof backing WRONG side up on a large flat surface
- Place your thin fleece on top (if using)
- Position your completed top RIGHT side up
- Pin all layers together with safety pins placed every 6-8 inches
Step 3: Quilting for Strength
Unlike decorative indoor quilts where intricate quilting adds beauty, outdoor quilts need strategic, simplified quilting:
- Using your walking foot and heavy-duty needle, stitch "in the ditch" along your seam lines
- Add a grid of straight lines 8-10 inches apart for additional stability
- Avoid overly dense quilting that might perforate your waterproof backing
Step 4: Binding That Won't Quit
Edge finishing is critical for an outdoor quilt that will see rough handling:
- Trim all layers even with each other
- Apply double-fold bias tape or quilt binding, using a slightly wider seam allowance (⅜") than you might for decorative quilts
- Double-stitch the binding for extra security – once to attach it, and a second line of stitching ¼" from the edge
Step 5: Adding Outdoor-Friendly Features
What transforms a regular quilt into an outdoor powerhouse is the additional features:
Corner Grommets (Wind Protection)
- Mark positions for grommets in each corner, about 2" from each edge
- Follow your grommet kit instructions to install securely
- These allow you to stake your quilt down on windy days
Carrying Strap (Portability)
- Cut a 36" length of nylon webbing or sturdy ribbon
- Fold in half and attach ends securely to one edge of your quilt
- This creates a shoulder strap for easy carrying
Roll-Up Ties (Storage)
- Attach two 18" lengths of ribbon to one edge, about 18" apart
- When rolled up, these wrap around the quilt to keep it compact
Special Features Worth Adding
If you want to take your picnic quilt to the next level, consider these bonus features:
Pocket Corner
Add a 12"×12" pocket to one corner for storing small items like sunscreen or a phone.
Weighted Corners
Sew small pockets into each corner and insert removable weights (washers work well) to prevent lifting in light breezes.
Convertible Tote
With some additional straps and snaps, your quilt can fold into its own carrying case!
Care and Maintenance
To ensure your outdoor quilt provides years of service:
- Shake off debris after each use
- Spot clean stains with mild soap and water
- For full washing, use cold water on a gentle cycle
- Air dry completely before storing (never machine dry vinyl or waterproof backings)
- Reapply waterproofing spray seasonally if using treated fabrics
- Store rolled rather than folded to prevent permanent creases in waterproof backing
Real-World Testing Results
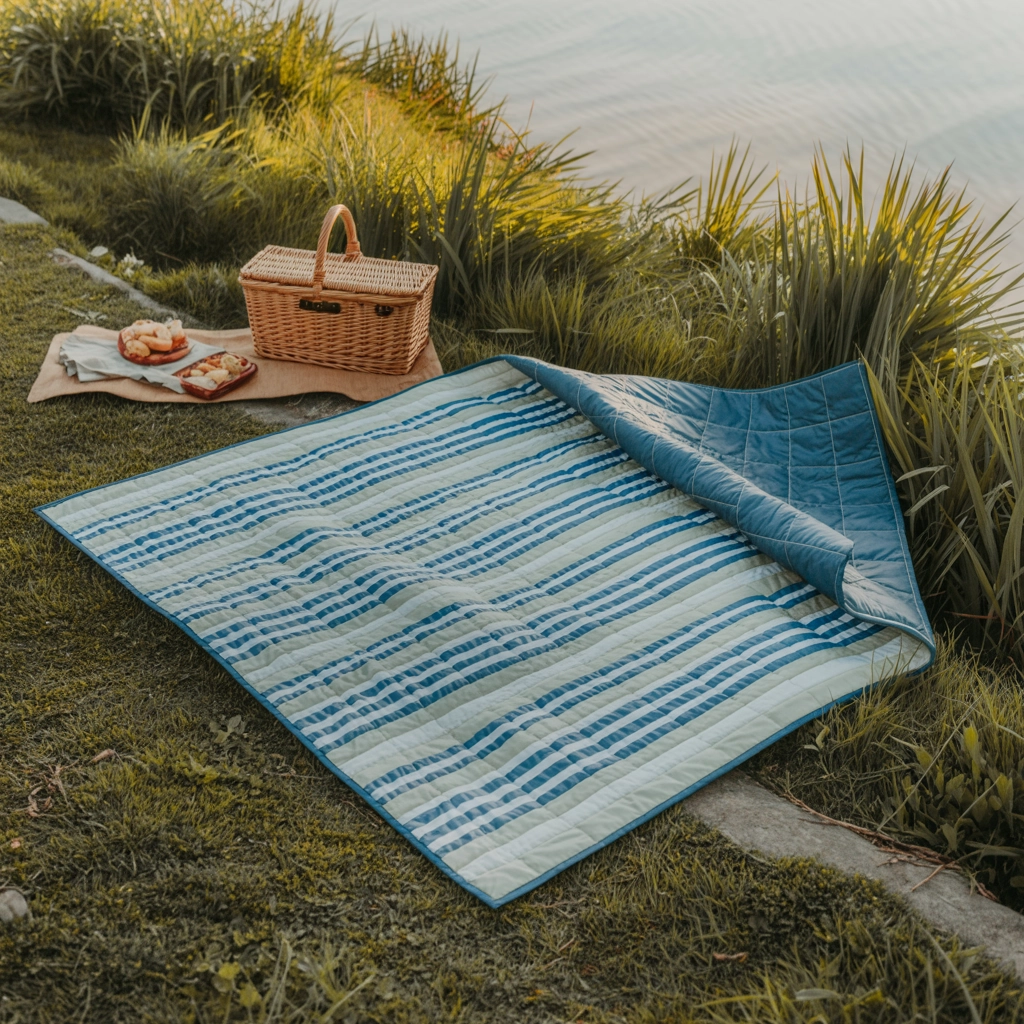
We've field-tested this pattern with our quilting circle at various outdoor locations, and the results speak for themselves:
- Beach Test: Sand brushed off easily, and the waterproof backing prevented moisture from seeping through
- Park Test: Survived three spilled drinks and a dropped ice cream cone with minimal staining
- Camping Test: Provided comfortable seating around the campfire and protected against morning dew
- Festival Test: Endured being stepped on by dozens of people without showing wear
Why Make Your Own When You Could Buy?
Commercial picnic blankets exist, but they can't match the personalization, quality, and satisfaction of making your own. Plus, our design incorporates the best features of high-end outdoor blankets at a fraction of the cost.
When you create this picnic quilt, you're crafting something that will become part of countless family memories. That juice spill from your daughter's birthday picnic or the wine stain from a romantic sunset date becomes part of your outdoor story.
Ready to Get Started?
We've got all the supplies you need for this project at Countryside Quilts. Stop by the store and mention this blog post for special pricing on outdoor fabrics this month!
If you make one of these durable picnic quilts, we'd love to see it! Share your creation on social media with the tag #CountrysideOutdoorQuilt or bring it to our next quilting circle.
Happy outdoor quilting!
- James Christian, Owner
Looking for more practical quilting projects? Check out our About Us page to learn about our monthly project workshops, or Contact Us with questions about this pattern.
Leave a comment