
Customer Support
support@countrysidequilts.com
support@countrysidequilts.com

Let's be honest: starting your quilting journey can feel overwhelming. You see those intricate patterns with hundreds of tiny pieces, and suddenly your cozy hobby seems like advanced calculus. But here's the secret that experienced quilters wish they'd known from day one: bigger blocks are your best friend.
When you're just getting started, there's no shame in choosing patterns that set you up for success. In fact, it's the smartest move you can make. Bigger blocks mean fewer seams to match, faster assembly, and: here's the best part: they let your gorgeous fabrics really shine. No one needs to know your quilt took you a weekend instead of six months!
Think of it this way: would you rather sew together 400 two-inch squares or 100 four-inch squares? The math is simple, but the impact on your stress level (and your finished quilt) is huge.
Fewer seams to match means less frustration when things don't line up perfectly. Let's face it: we're all learning, and those quarter-inch seam allowances can be tricky at first. With bigger blocks, you've got fewer opportunities for things to go wonky, which means more time actually enjoying the process.
Faster assembly keeps your momentum going. There's nothing more motivating than seeing your quilt come together quickly. When you can finish a row or two in an evening instead of spending three nights on a single block, you're way more likely to stick with your project until it's done.
Beautiful fabric showcase is where bigger blocks really excel. Got a gorgeous large-print fabric with florals or scenic designs? Chopping it into tiny pieces is like putting a frame around just the corner of a painting. Bigger blocks let those prints breathe and show off what makes them special.
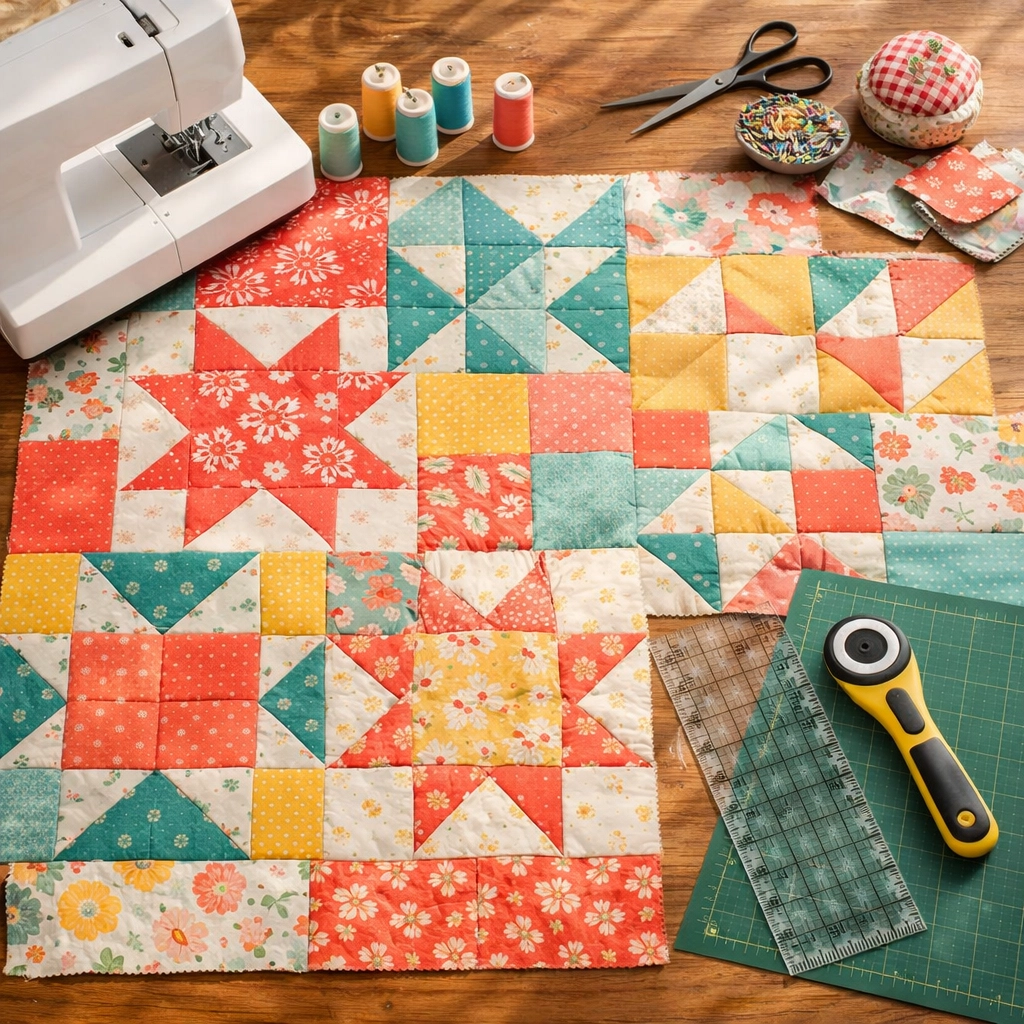
Let's start with the absolute easiest pattern: equal-sized squares arranged in a grid. Cut your squares at 10", 12", or even 15", and you can literally finish the quilt top in a single afternoon. This is perfect for showcasing a collection of fat quarters or those bold prints you fell in love with at the fabric store. No matching points, no complicated piecing: just cut, arrange until you love the layout, and sew.
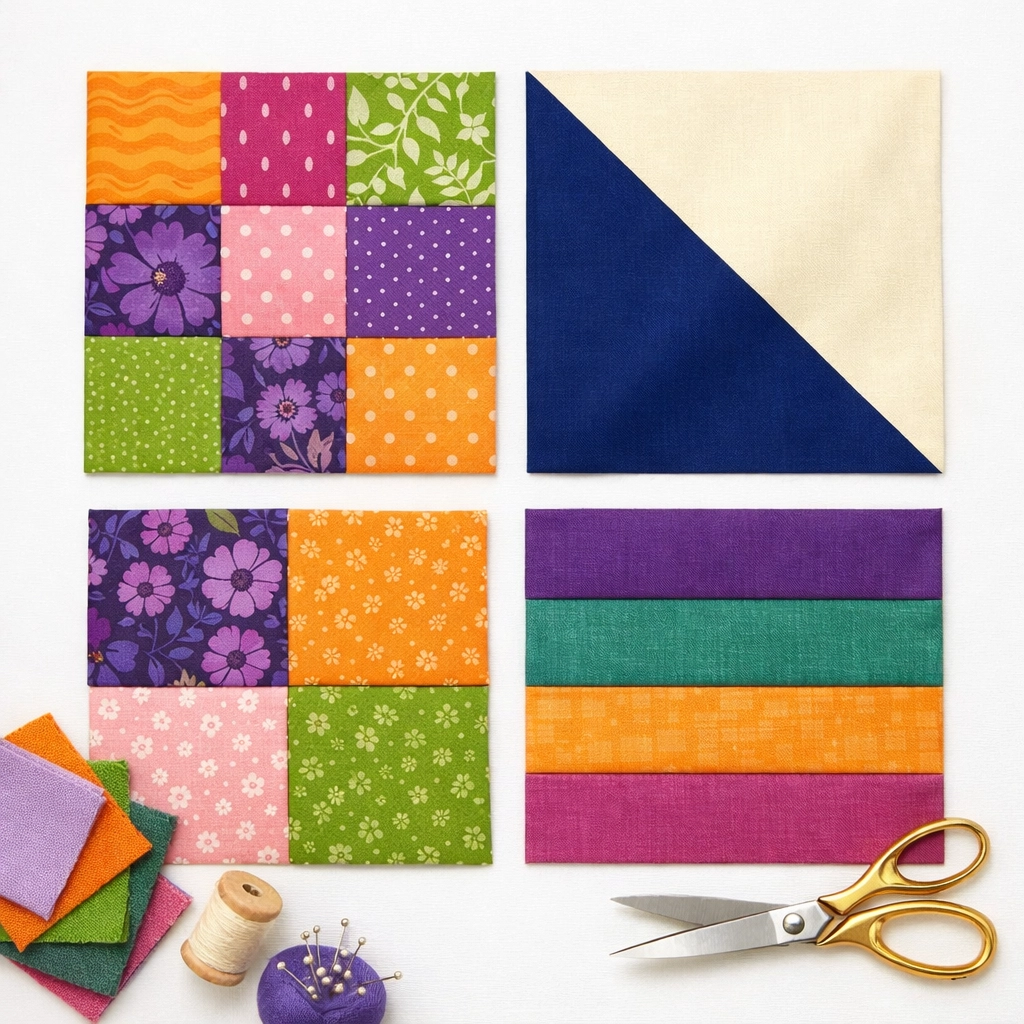
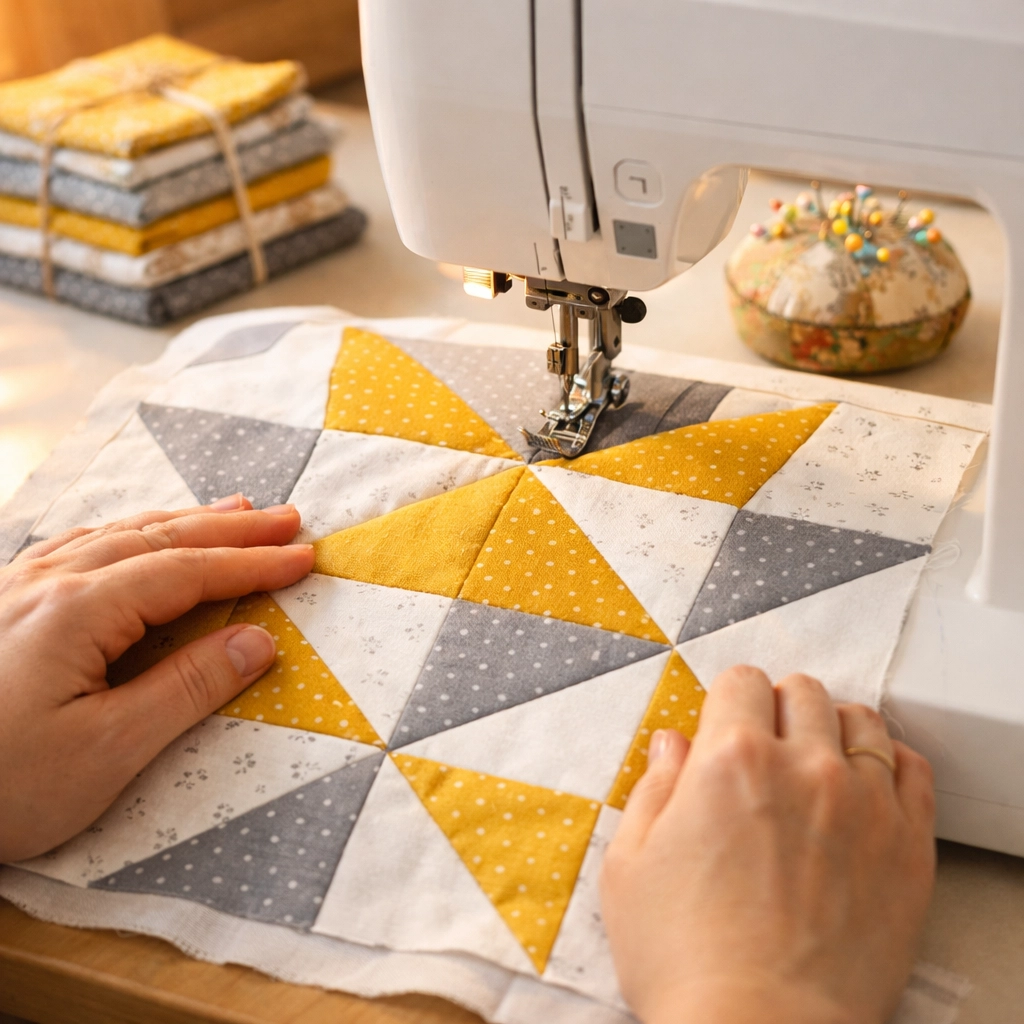
Half-square triangles (HSTs) might sound complicated, but they're actually super beginner-friendly, especially when you make them big. Cut two large squares (try 13" to make a 12" finished block), stitch diagonally, cut, press, and trim. Two fabrics become four blocks in minutes. Arrange them into pinwheels, chevrons, or a scattered modern look.
The rail fence pattern uses strips of fabric sewn together and then rotated to create interesting layouts. When you use wider strips (5" or 6" instead of 2"), you get the same visual impact with way less work. The pattern creates dynamic movement without requiring any tricky piecing skills.
Sometimes the classics are classic for a reason. A four-patch block is just four squares sewn together: that's it. But when you make each square 6" or 8" finished, you get substantial blocks that piece together into a bold, graphic quilt. Play with color placement to create diagonal patterns or checkerboards.
Star patterns can be intimidating with all those points, but a simple Ohio Star or Sawtooth Star made with 4" or 5" finished units is totally doable. The bigger scale means those points are easier to match, and one block can become a stunning 12" or 16" quilt block. Make nine of them, and you've got a lap quilt.
This pattern mimics a brick wall, with rectangles offset in alternating rows. Using 6" x 12" rectangles instead of tiny bricks gives you that classic look with minimal piecing. The offset layout is forgiving: even if your seams aren't perfectly straight, the pattern hides it beautifully.
Log cabin blocks grow from a center square with strips added around it. Using wider strips (2.5" to 3" instead of 1.5") means fewer rounds to complete each block, but you still get that satisfying spiral effect. Plus, the repetitive nature of adding strips one at a time is actually pretty meditative once you get into the rhythm.
Here's a secret weapon: fabric panels. These pre-printed designs (often 24" x 44") feature complete scenes or patterns. Add 6" to 8" borders on all sides, and you've got a finished quilt top that looks like you spent weeks on it. This is perfect for building your quilting and binding skills without the piecing stress.
If you've got a jelly roll or layer cake precut pack, this is your pattern. Sew strips together lengthwise (or join squares into strips), and you're done. Using wider strips or larger precut squares means fewer seams and faster results. Cut the sewn panel into sections and rearrange them for added interest.
The traditional nine patch uses nine small squares, but scale it up! Use 5" or 6" finished squares to create 15" or 18" blocks. You'll only need a handful of blocks to make a full-size quilt, and the simple grid structure is perfect for playing with color and pattern without getting overwhelmed.
Choose fabrics wisely. Large-print fabrics from collections like Lori Holt's lines are specifically designed to look amazing in bigger pieces. You don't need intricate piecing when your fabric is already doing the visual work.
Use precut fabrics. Charm packs (5" squares), layer cakes (10" squares), and fat quarter bundles take the cutting stress out of the equation. Everything's already coordinated and sized: you just need to sew.
Don't stress about perfection. Your first quilt doesn't need to win awards. It needs to get finished. Those slightly wonky seams? Character. That block that's a quarter-inch off? Nobody will notice once it's quilted.
Press as you go. Taking 30 seconds to press each seam makes the next step so much easier. Your blocks will lie flatter and nest together better.
At Countryside Quilts™, we've helped hundreds of beginners turn their fabric dreams into finished quilts. Our collection includes plenty of large-print fabrics that are practically made for bigger block patterns. When you can showcase a beautiful print without chopping it into confetti, everybody wins.
Not sure where to start? We offer classes and expert advice right in our store. Sometimes all you need is someone to show you how to cut that first square or explain why your seam ripper is actually your best friend (spoiler: we all use ours: a lot).
A note about Countryside Quilts™: We're proudly a brand of Countryside General Stores LLC, which also sponsors the Countryside Experience Podcast. Whether you're listening to quilting tips on the podcast or shopping with us in person, you're part of the same creative community focused on making beautiful things with our hands.
Here's what we want you to remember: every quilter you admire started exactly where you are now. They didn't begin with award-winning masterpieces: they started with simple patterns, bigger blocks, and the courage to just begin.
Pick one of these ten patterns. Grab some fabric you love. Cut those pieces bigger than you think you should. And then just start sewing. Before you know it, you'll be laying out your finished quilt top, wondering why you ever thought this was hard.
The best part? Once you've finished your first bigger-block quilt, you'll have the confidence and skills to try anything. But honestly, you might just stick with bigger blocks: because why stress when you can create something beautiful and actually enjoy the process?
Stop by Countryside Quilts™ and let's find the perfect fabrics for your first (or next) bigger-block project. We promise, it's going to be easier: and more fun( than you think.)
{"one"=>"Select 2 or 3 items to compare", "other"=>"{{ count }} of 3 items selected"}
Leave a comment