Current Turnaround
Approx - 2 Weeks
Approx - 2 Weeks (14 Days)

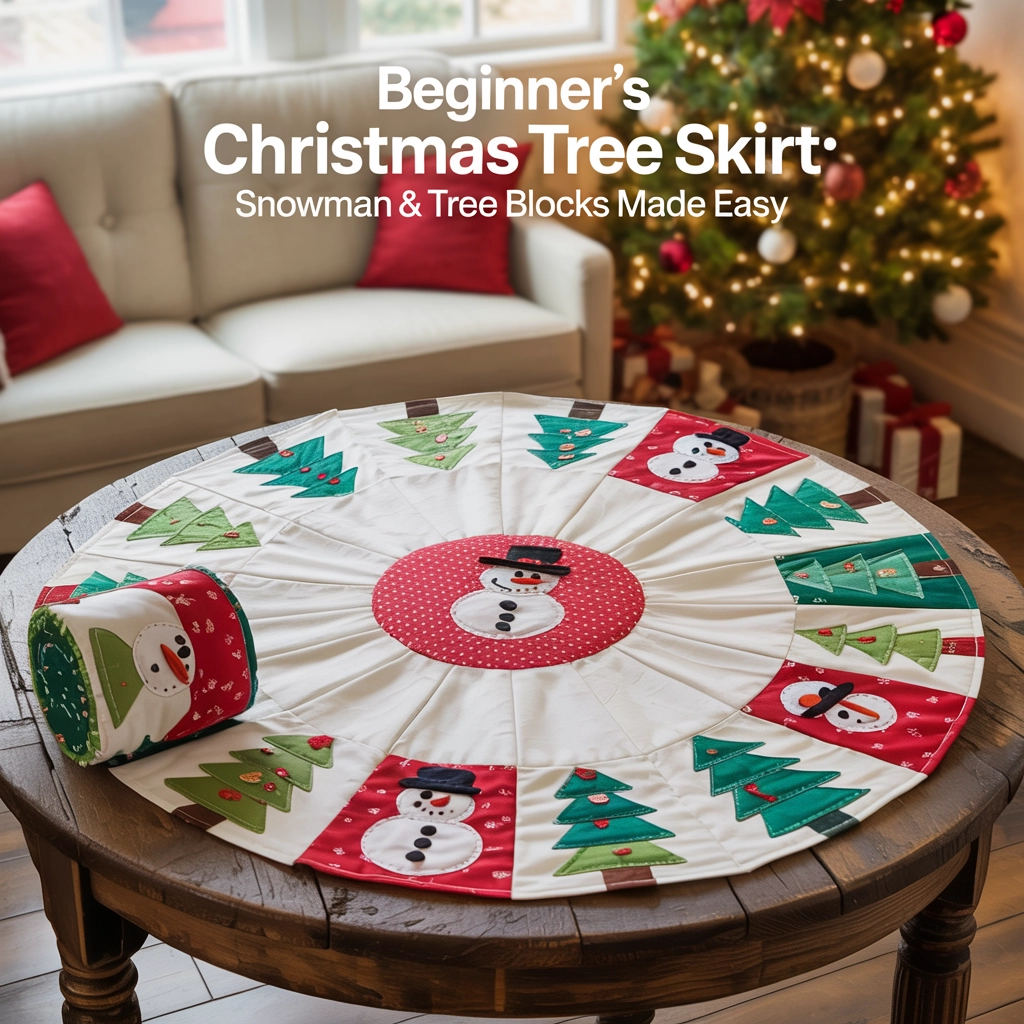
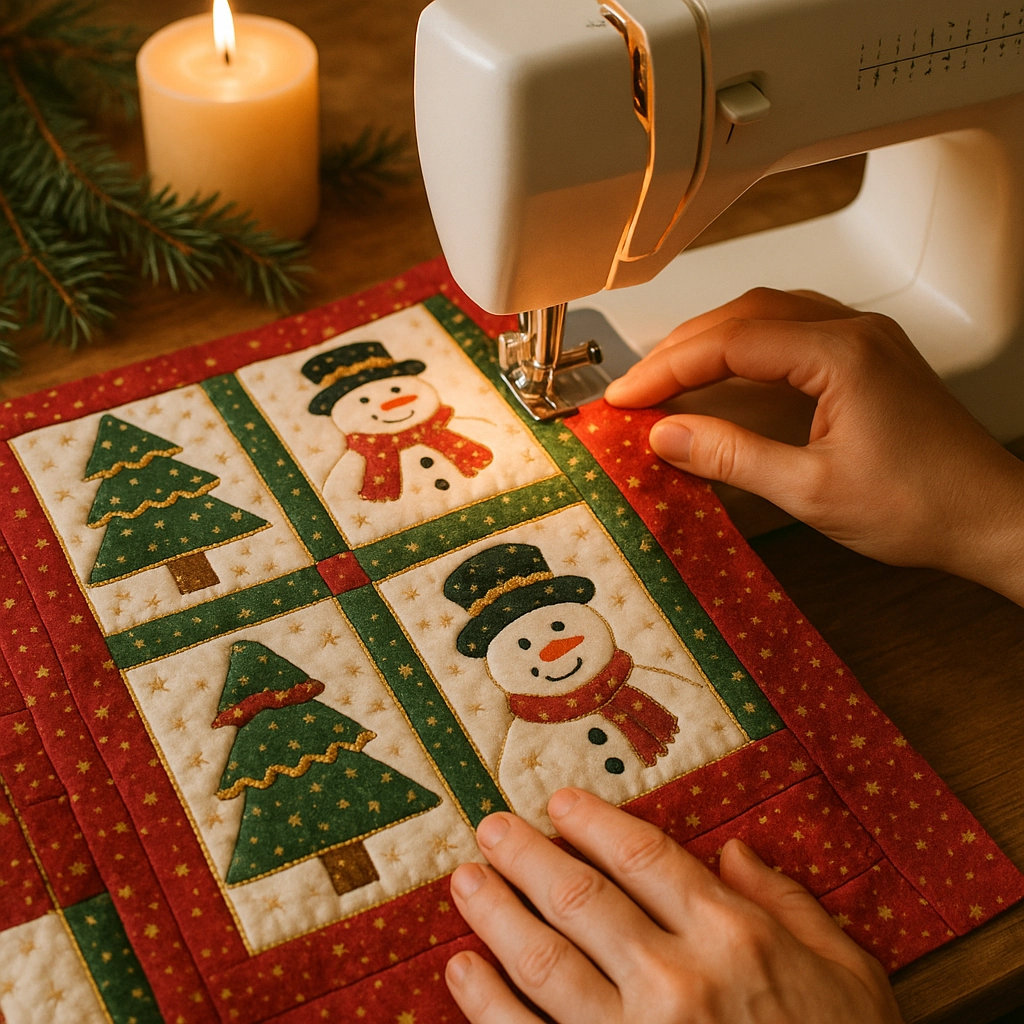
There’s nothing like decking out your Christmas tree with something handmade—especially when it’s easy enough for any quilter to tackle. If you dream of cozy snowmen, twinkling Christmas trees, and a bit of joyful holiday sewing, you’re in the right place! This project features a playful, cartoonish snowman and Christmas tree block design, made beginner-friendly, and it’s destined to become your family’s new favorite tree skirt.
A homemade Christmas tree skirt doesn’t just dress up your tree—it tells a story. Each year when you pull it out, you’ll remember the fun of making it (last-minute cocoa break included).
Our design keeps things simple:
This skirt is adjustable for any tree size, and adaptable for new stitchers, whether you’ve got a machine humming or prefer hand-sewing during a holiday movie marathon.
Most tree skirts are just circles of fabric, but using easy quilt blocks adds instant charm (and lets you play with color and personality). Alternating snowmen and trees means you get to repeat simple steps, keep construction stress-free, and personalize each block—maybe give each snowman a unique scarf or hat!
Plus, block-based designs are easy to assemble and finish in a weekend (even if you’ve never quilted before).
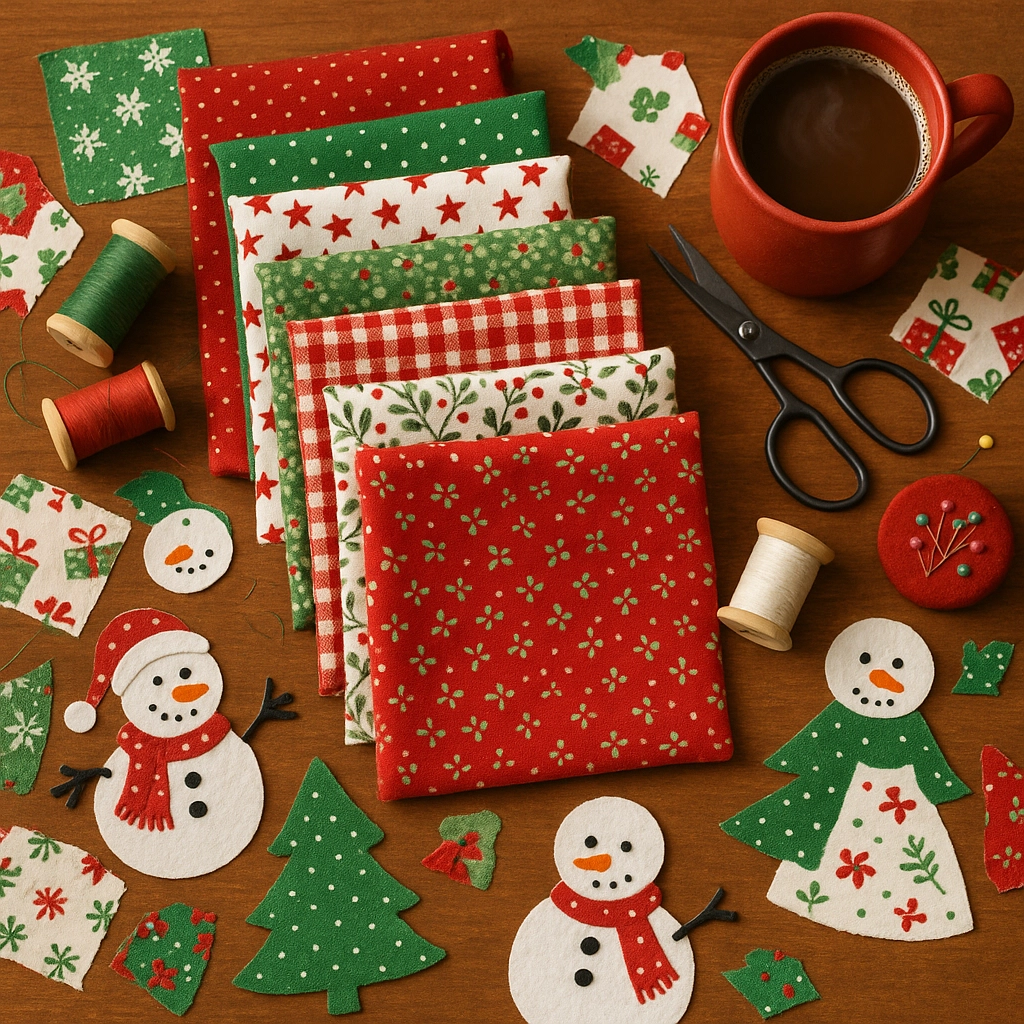
You’ll find most (if not all!) of these supplies and adorable holiday fabrics at Countryside Quilts. Here’s your starter checklist:
Fat quarters or fabric scraps:
Batting (for softness and weight)
Backing fabric (pre-washed cotton, or cozy flannel)
Fusible web (for easy applique—try HeatnBond or Steam-a-Seam)
Basic sewing notions:
Fasteners for closure: Ties, ribbons, or hook-and-loop (Velcro) strips
Optional: Buttons, rickrack, pom-poms, or felt embellishments for extra cheer
Size Matters:
A classic tree skirt size ranges from 36" to 54" in diameter, but beginners might enjoy a smaller, 22"–36" skirt for easier handling and a quick finish. Just make sure it’s slightly larger than your tree’s bottom branches.
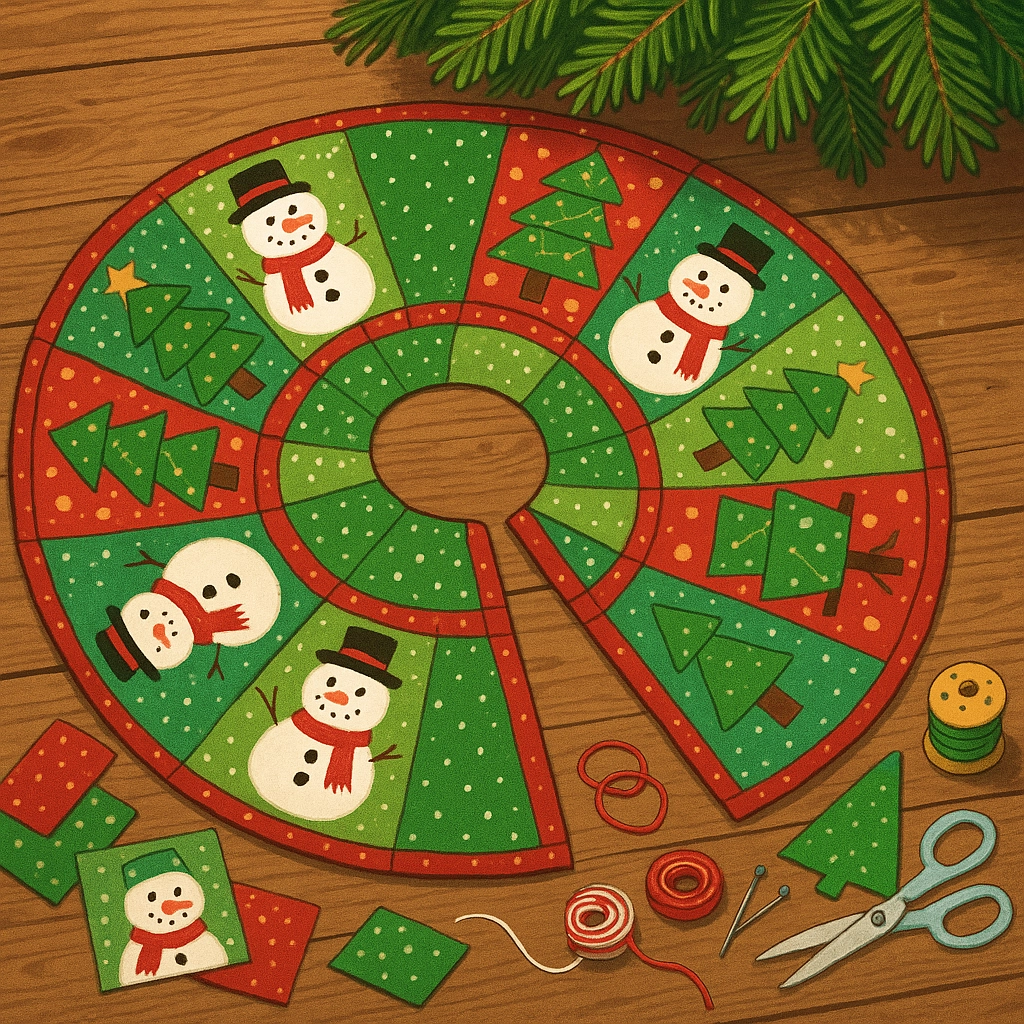
Block Layout:
This tree skirt uses alternating blocks arranged in a circular fashion. For a small skirt, plan on 8–10 blocks; for larger ones, up to 16 blocks will make a full circle. The exact number will depend on your block size and preferred fullness.
Skirt Opening:
You’ll include a slit from the outer edge to the center, and a small circle in the middle to fit around your tree trunk. This makes the skirt easy to wrap and remove.
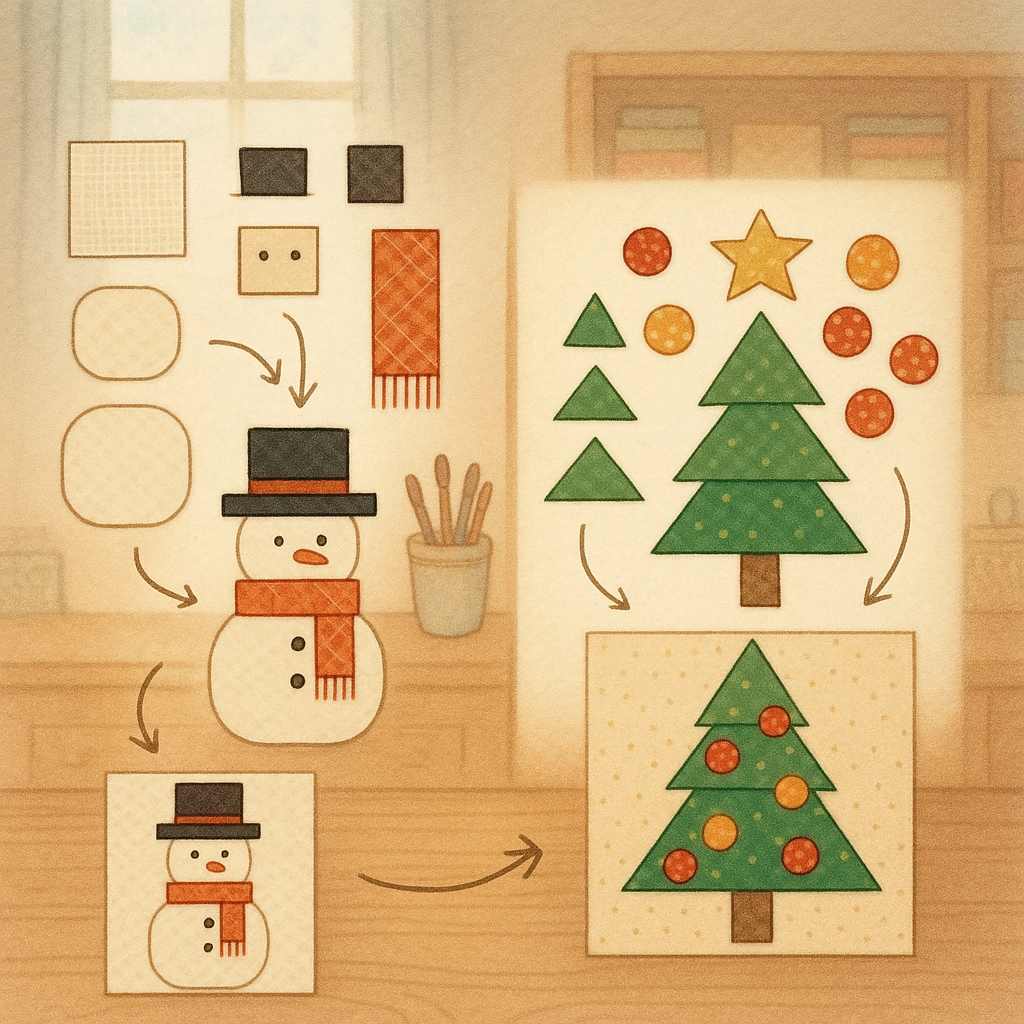
No fussy piecing or tiny curves—these blocks keep the shapes simple and fun!
Each block can be unique—the more whimsical your fabric and features, the better!
Arrange Your Blocks
Form the Circle
Center Circle
Make the Quilt Sandwich
Quilt As Desired
Finishing Edges
Fasten
That’s it—the beginner’s, stress-free way to a show-stopping Christmas tree skirt you’ll treasure for years. Whether this is your very first quilted project or just a speedy seasonal add-on, you’re bringing a little extra cheer to your home (and maybe creating a tradition or two in the process).
Ready to gather your supplies? Swing by Countryside Quilts for the friendliest advice, colorful fabrics, and all the inspiration you’ll need to get started.
Tag us in your finished tree skirt photos—we love to see how every snowman and tree turns out! Happy quilting and happy holidays from all of us at Countryside Quilts.
{"one"=>"Select 2 or 3 items to compare", "other"=>"{{ count }} of 3 items selected"}
Leave a comment