Current Turnaround
Approx - 2 Weeks
Approx - 2 Weeks (14 Days)

If you’re dreaming about creating those beautiful quilts you’ve seen at shows, or just ready to tackle your first big quilting project, starting with long arm quilting can feel a little intimidating. The good news? You don’t need fancy patterns or complicated techniques to get going. In fact, the best way to build confidence is to master simple, forgiving stitch designs first—this way you get loads of practice and some gorgeous results without the pressure of perfection.
Whether you’re brand new to the long arm (or just looking for some solid beginner ideas), you’re in the right spot. Here’s how to get comfortable with your machine, boost your confidence, and fall in love with quilting from the very first stitch.
Before we dig into designs, let’s talk about why keeping it simple helps so much. Long arm quilting is all about movement—you and your machine working together in a smooth, natural way. The simplest patterns help you learn:
Plus, simple patterns hide “whoopsies” beautifully. With forgiving lines and curves, it’s nearly impossible to tell where you started or stopped. That means you can relax and focus on building smooth control and confidence…instead of worrying about tiny imperfections.
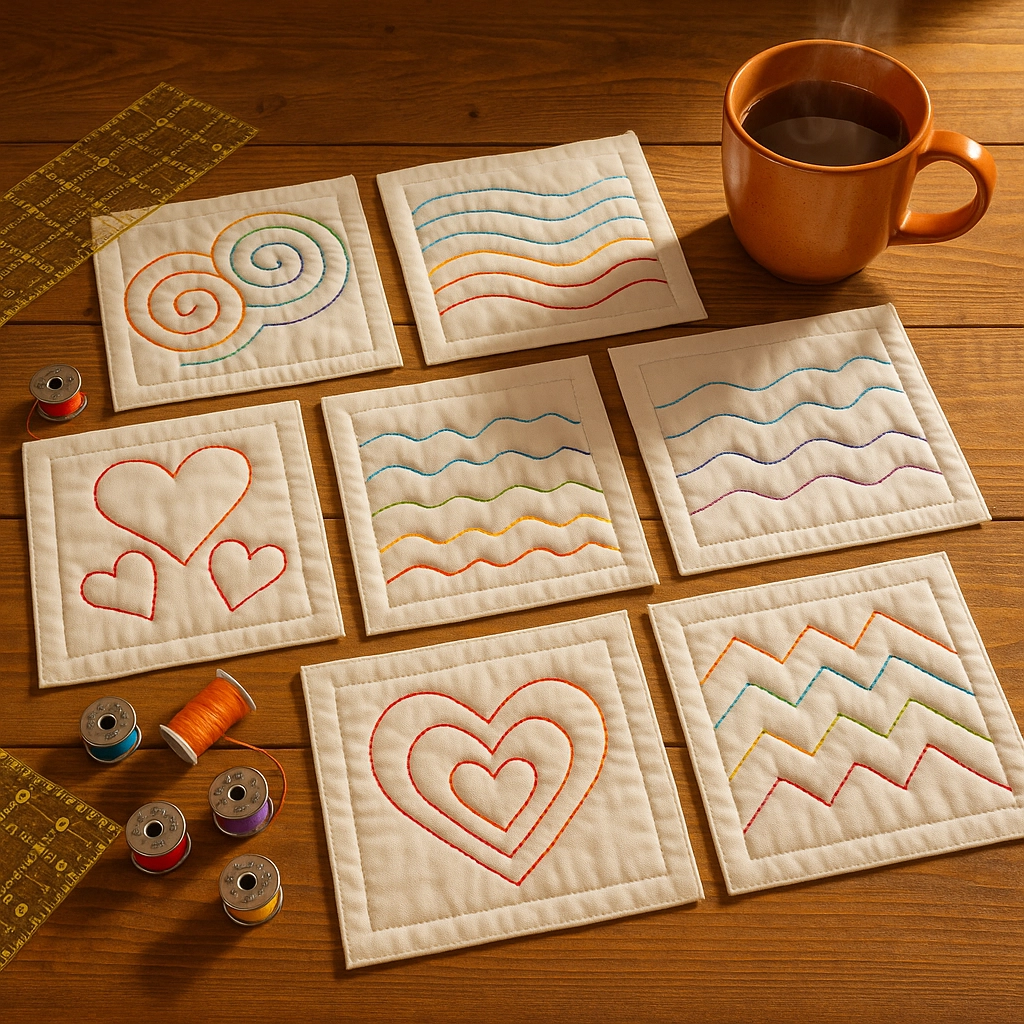
Ready to dive in? Here are some beginner-friendly patterns that are perfect for your first quilts—and will serve you well for years to come.
Think of “wiggles” as the unsung hero of beginner quilting. This design is just a series of loose, up-and-down curves (like a rolling wave), stitched from one side to the other.
How to do it:
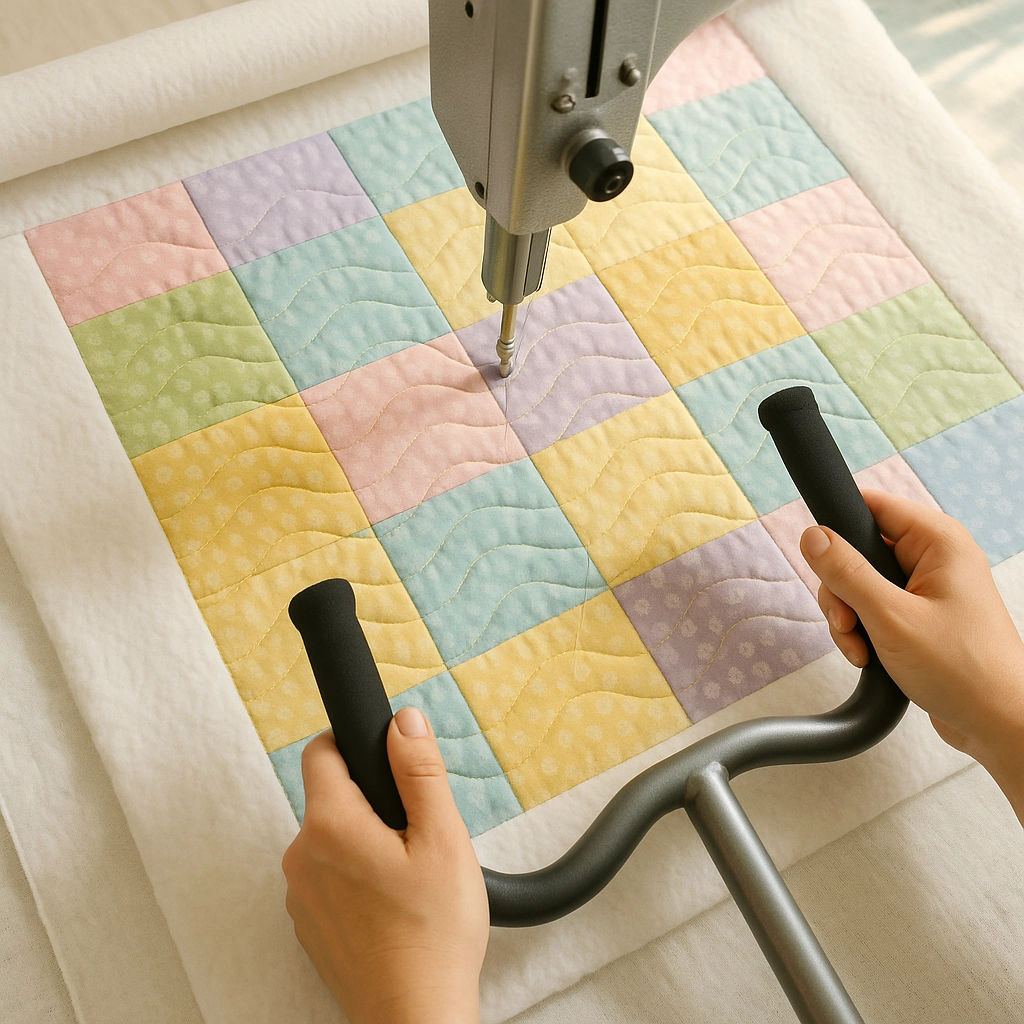
Why it helps: There’s no matching or travel stitching (stitching directly over a previous line), so it’s easy, low stress, and a fantastic way to practice consistent movement and spacing.
This is your classic “stipple” or “puzzle piece” look—a single line that curves smoothly, never touching or crossing itself. If you’ve ever doodled a road map line without lifting your pen, you’re halfway there.
How to do it:
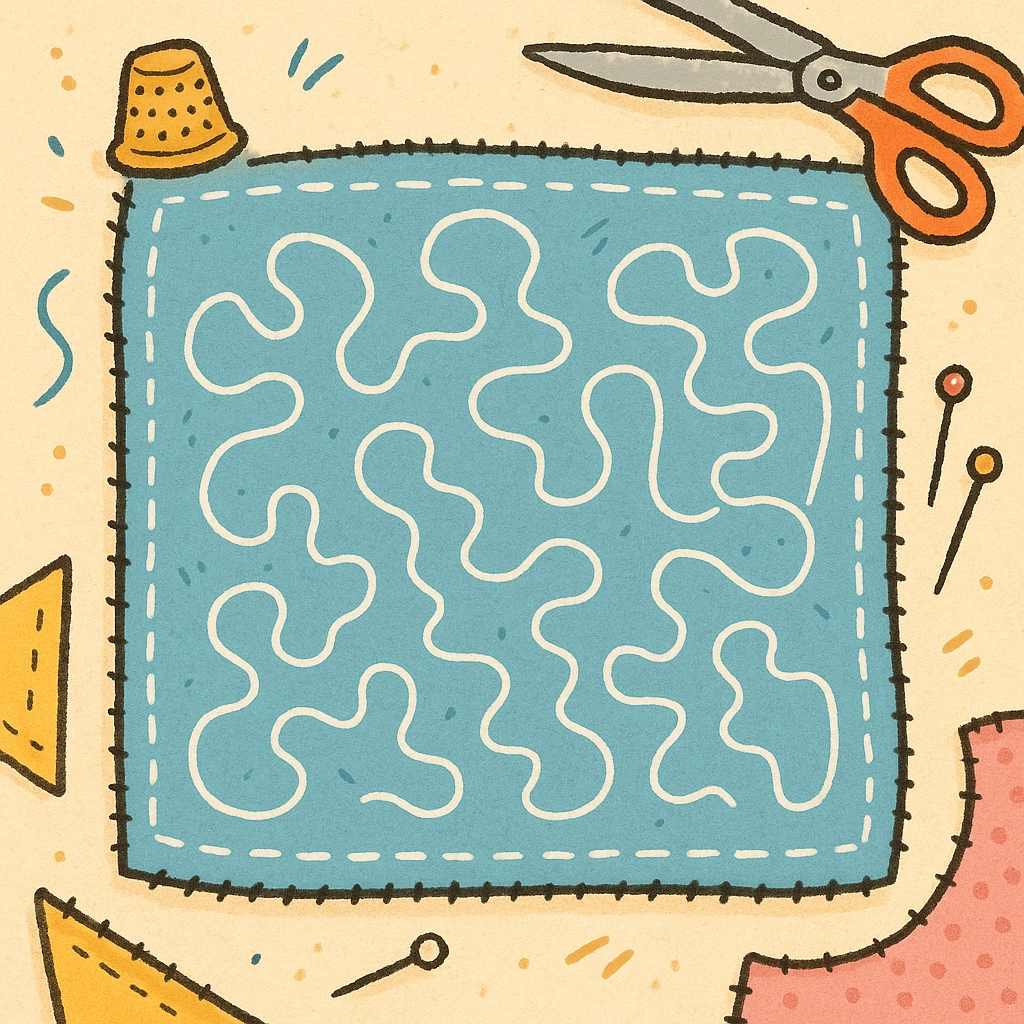
Why it helps: Meandering is forgiving and fills space quickly. It also teaches you to move the machine fluidly, letting your brain and hands work together in real time.
This is as easy as quilting gets—straight lines, with or without a gentle wiggle, running from top to bottom on your quilt. It works great for modern quilts, panels, or anything with strong vertical design.
How to do it:
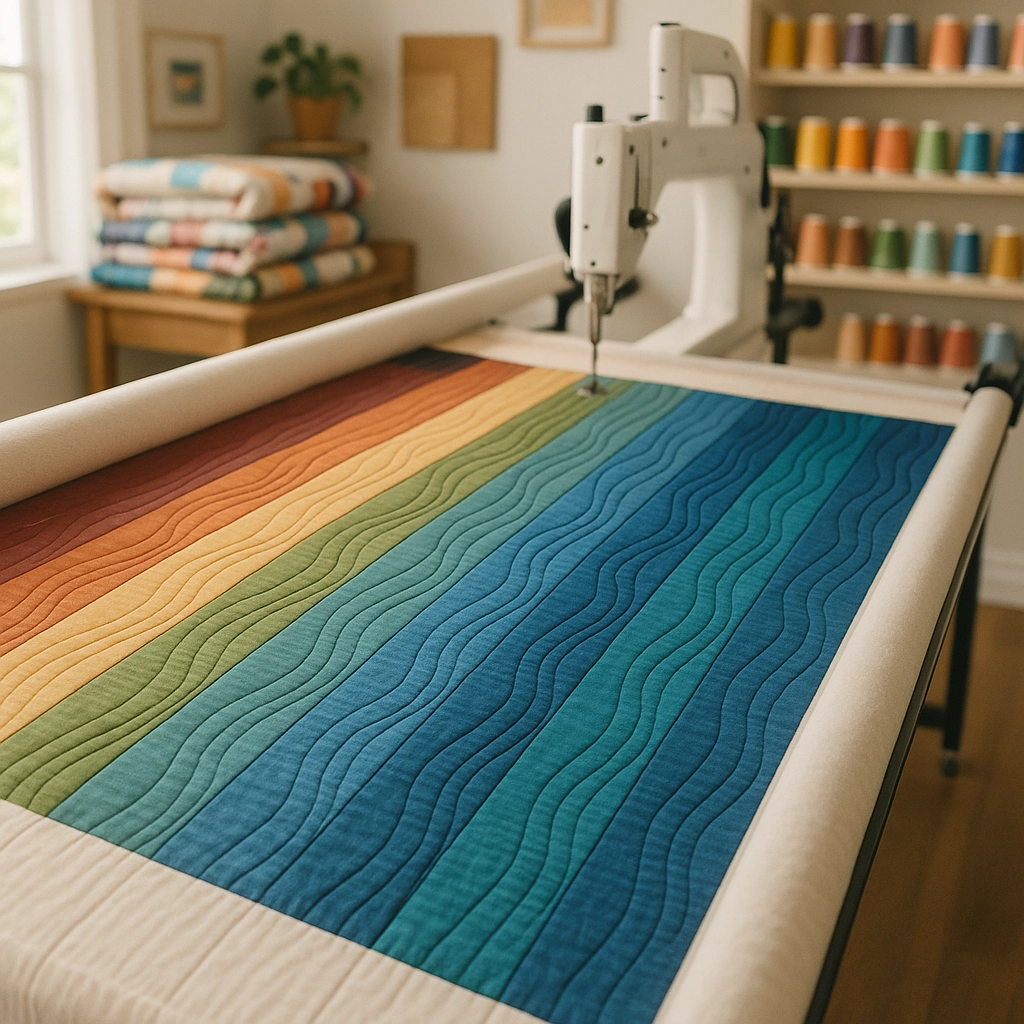
Why it helps: Confidence grows as you practice making long, continuous lines without frequent stops. Wiggles keep it relaxed and mask any tiny wobbles.
Loops are another beginner favorite. You’ll be stitching a series of connected circles—like a string of lopsided pearls or the outline of a cartoon lasso.
How to do it:
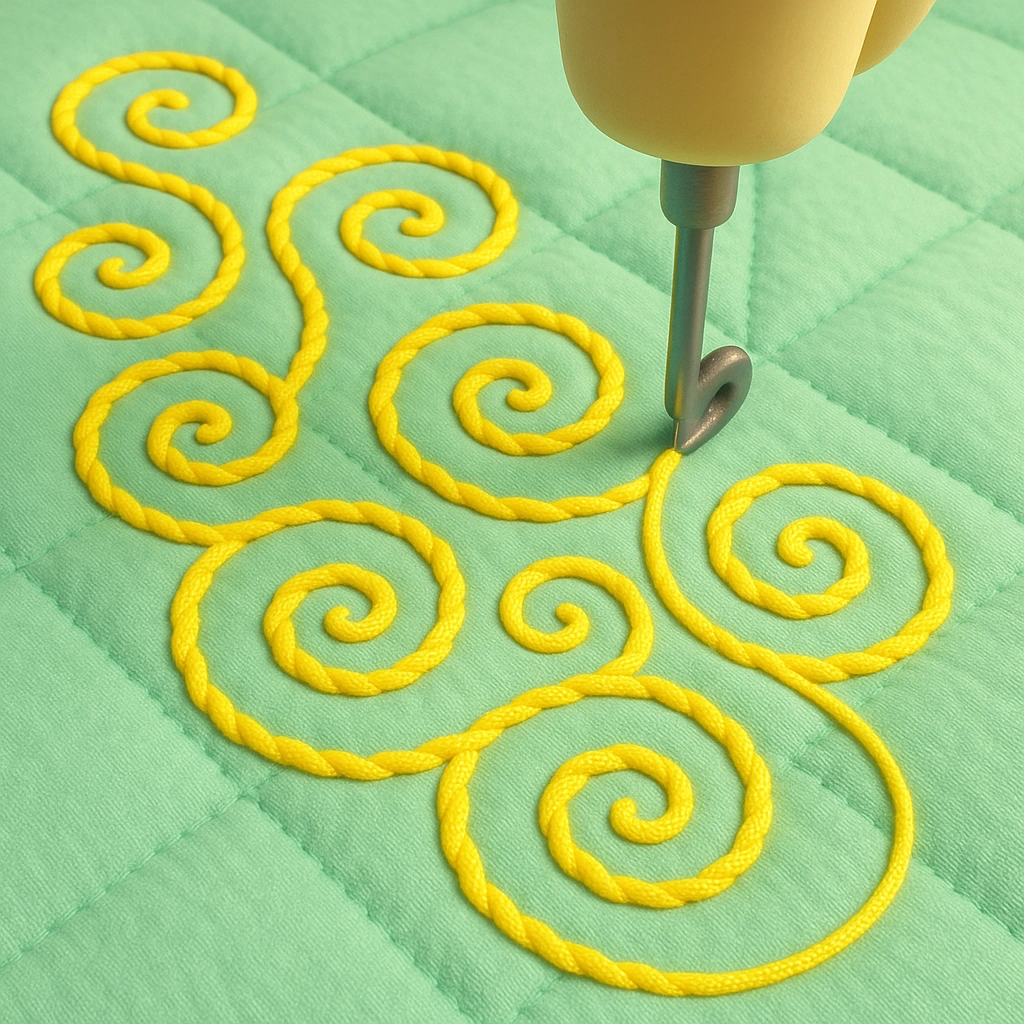
Why it helps: Loops train your hand-eye coordination and help build muscle memory for curves—excellent practice for more advanced motifs down the line.
Getting steady with your long arm isn’t all about “doing it right”—it’s about putting in the miles until it feels natural. Here are a few confidence-boosting strategies:
Stuck on what to quilt next? Try these tension-easing, confidence-building ideas:
Remember, the best stitch for your first long arm projects is the one you enjoy quilting. Don’t be afraid to experiment and make each piece uniquely yours!
At Countryside Quilts a CGS Company, we’re all about building confidence at every step of your quilting journey—whether you’re testing out your first wiggle or tackling a twin-size masterpiece. Our team loves chatting about all things quilting and is always happy to offer advice, demos, and support.
Looking for hands-on tips or want to see our long arm quilting services in action? Check out our quilting services page or swing by the shop for a friendly introduction. Need help finding the right tools for learning? We’ve got supplies, practice panels, and plenty of encouragement waiting for you!
Have a question about a specific stitch, or want to share your first long arm success? Drop us a line through our Contact Us page or stop by in person—we love seeing what our community is making.
Quilting on a long arm is a journey, not a sprint. Celebrate every milestone—no matter how wiggly those first stitches might look! Before you know it, the basics will feel easy and you’ll be ready to try more complex designs, custom motifs, and maybe even freehand feathers and beyond.
Most of all: enjoy the process, trust your hands, and remember that every stitch is a step towards beautiful, confidently finished quilts. Happy quilting from your friends at Countryside Quilts!
{"one"=>"Select 2 or 3 items to compare", "other"=>"{{ count }} of 3 items selected"}
Leave a comment